Difference between revisions of "LargeScout ForestTrench (EU2012)"
Jump to navigation
Jump to search
(added map images) |
m |
||
| Line 11: | Line 11: | ||
'''Notes''' | '''Notes''' | ||
| − | * | + | * UFO landing zone - South side of the map |
| + | * Drop Zones - either North (facing the UFO door) or East. East DZ has more cover, while the South DZ is in the middle of the trench, with only half-cover debris logs and rocks. | ||
* Notable Locations | * Notable Locations | ||
| + | ** A large trench dug by the crashing UFO that separates both W/E sides of the map that leads directly to the UFO door. | ||
| + | ** The eastern side has plenty of cover but that will mean that most fighting should occur inside the UFO, with the aliens barricading themselves inside. | ||
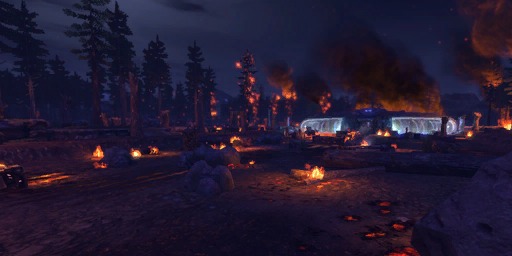
[[File:Large Scout Forest Trench 1 (EU2012).png|thumb|512px|Large Scout Forest Trench overview]] | [[File:Large Scout Forest Trench 1 (EU2012).png|thumb|512px|Large Scout Forest Trench overview]] | ||
Revision as of 15:47, 25 February 2013

Large Scout Forest Trench loading screen
Missions
- Crashed UFO
Map Dimensions
- Length: 100 tiles
- Width: 98 tiles
- Height: 4 tiles
- Total map area: 39200 tiles
Notes
- UFO landing zone - South side of the map
- Drop Zones - either North (facing the UFO door) or East. East DZ has more cover, while the South DZ is in the middle of the trench, with only half-cover debris logs and rocks.
- Notable Locations
- A large trench dug by the crashing UFO that separates both W/E sides of the map that leads directly to the UFO door.
- The eastern side has plenty of cover but that will mean that most fighting should occur inside the UFO, with the aliens barricading themselves inside.
.png)
.png)